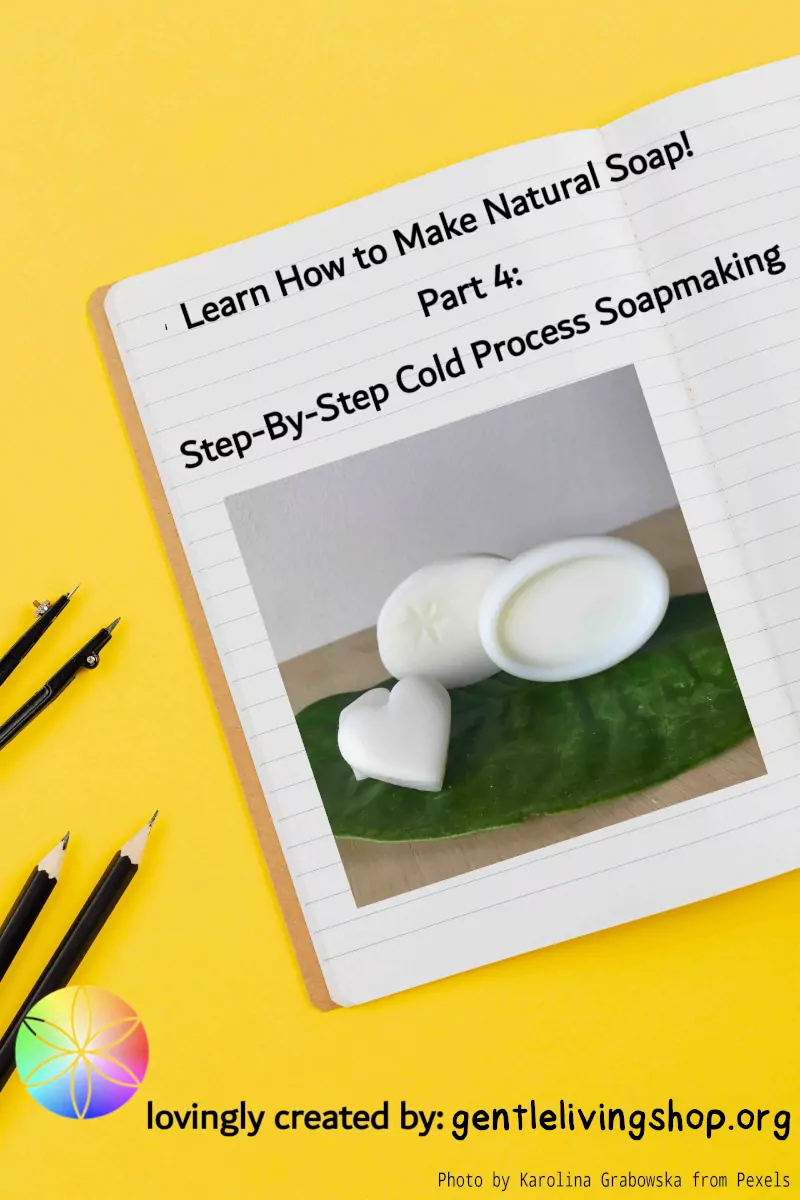
第四集:冷製皂步驟詳解 | 手工皂製作教學
Welcome to Part 4 of the series, in this section, we will provide you with the steps we follow when making cold-process soaps. It is just a guideline and your soapmaking process may well be different but we hope it is serves as a reference to any beginners nervous to get started! We recommend watching some online videos for visuals if you are unsure 😊
Read more about lye safety in Part 1 of this guide.
Soapmaking Steps
- Do research and make up your own recipe, make sure math is correct
- Prepare your workstation, gather all tools and ingredients AND SAFETY GEAR. Make sure you are in a safe environment before proceeding. (lye is corrosive so please make sure that no children or pets are near by)
- Put on your safety gear!
- In a well-ventilated area, measure out lye precisely with a scale (OR skip Step 4-6 if using masterbatch solution)
- Slowly pour lye into water. NEVER pour water onto lye as water will boil and splash explosively! Also, take care to avoid inhaling fumes.
- Let lye solution cool to room or desired temperature
- Measure out the rest of ingredients accurately with a scale
- Prepare those ingredients (melting & combine oils & butters etc.)
- Pour lye into oil(s) down shaft of blender/spatula to avoid splashing
- First, mix by hand and then,
- Use a stick blender to mix soap batter by pulsing in short intervals (take care to remove air trapped in stick blender head, also called ‘burping’ the blender) OR hand stir with whisk in intervals of few minutes of stirring and few minutes of rest
- Stir until batter reaches emulsion — stick blending takes less than 5 minutes, hand-stirring takes 20 minutes to more than an hour depending on batch size
- Optional: add additives (fragrance, colour etc.) Take out a small portion of batter and combine additive thoroughly with no clumps and then mix into main container
- When batter reaches desired consistency, pour into moulds (optional: create patterns and swirls with various techniques)
- Cover top of the mould to keep away dust and insects, choose whether or not to insulate with towels to encourage gel phase
- Let set for 12-24 hours or more
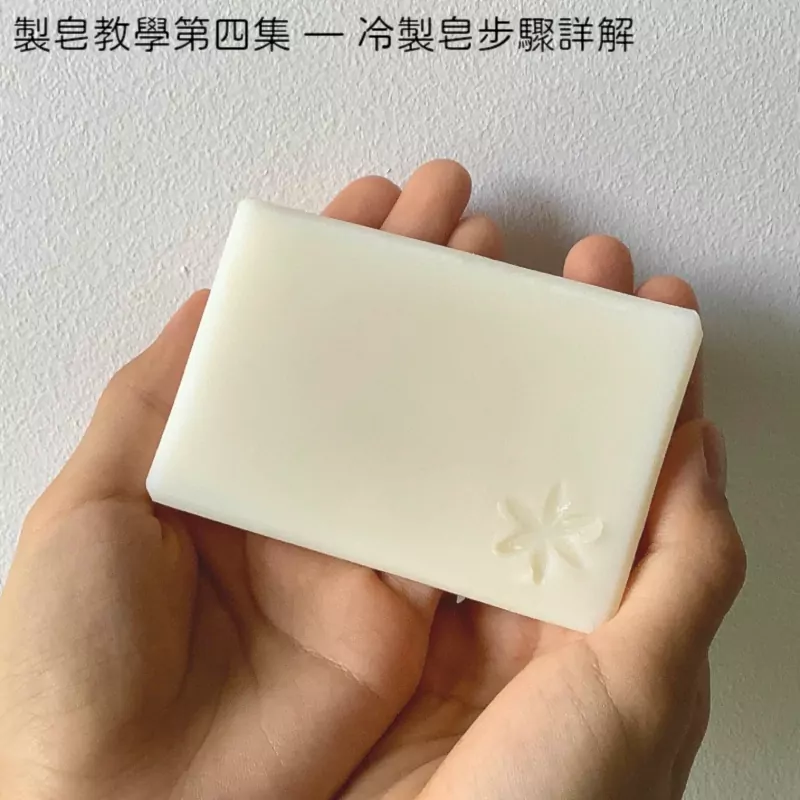
- Un-mould hardened soap, inspect & cut! You may need to wear gloves as the soap can still be very alkaline.
- Place on racks to cure for 4-6 weeks in a cool dry place
Cleaning Up
Remember to keep your protective gear on as there is still active lye in your soap batter!
- Method 1: scrape your containers empty with a spatula and clean tools with a towel. Put any soap collected into an extra mould. Wash everything with warm water and mild soap. Wait 24 hours for saponification to be completed before washing the towels to prevent any active lye going down the drain.
- Method 2 (recommended): leave all your tools in a safe place for at least 24 hours to let everything saponify and then do the clean up, you won’t need any extra soap!
Other Ways to Make Soap
-
Cold Process liquid soap: Check out our liquid soap tutorial using potassium hydroxide.
Watch video tutorial on PeerTube or YouTube. - Hot process soapmaking: watch this tutorial by Soaping 101 (on YouTube)
Thank you for reading! We hope it was helpful!
手工皂製作教學集冊:
第一集:製皂基礎
第二集:創建自己的配方
第三集:安全裝備,工具與材料
第四集:冷製皂步驟詳解
第五集:我們喜歡的配方
第六集:資源與連結分享
製皂用語與定義