Easy 2-Seam T-shirt Sewing and Pattern Making Guide – No Sewing Machine Needed
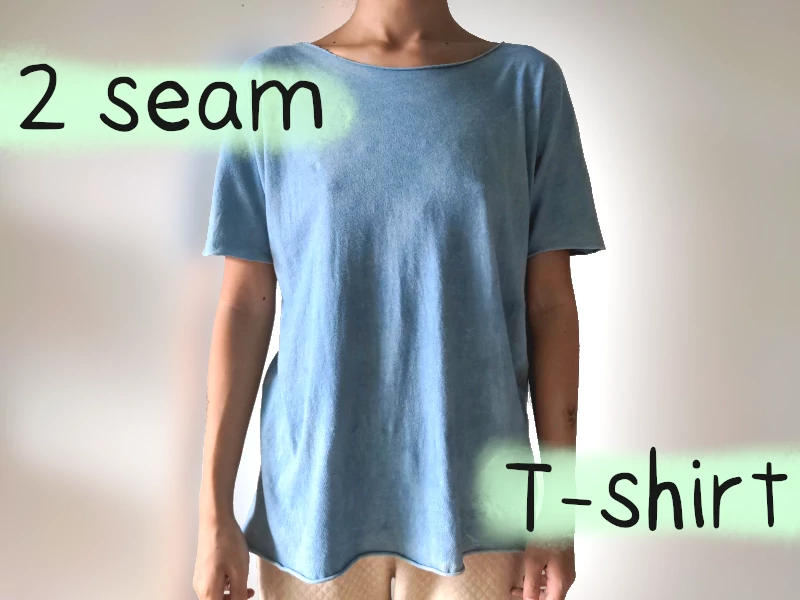
A 2-seam T-shirt is inspired by traditional Chinese clothing called Hanfu (漢服). It follows the traditional way of 2-dimensional pattern making. Its fit is rather boxy and the sleeve design resembles bat sleeves as the sleeves and bodice are one single piece. If normal T-shirt patterns are confusing to you – hopefully you will find this to be much more straightforward and easy to understand 😀
You may follow along with our video as well as with the accompanying PDF guide that makes it easier to keep track of measurements.
We will cover the following:
Video Guide
You can also watch this video on YouTube
Tools and Materials Needed
- tape measure
- pen
- fabric (jersey or another preferred fabric)
- tailor’s chalk or pen for fabric
- fabric scissors
- needle + thread or sewing machine
- (Optional) accompanying guide printout
Difficulty Level: beginner friendly
Project Length: around an hour
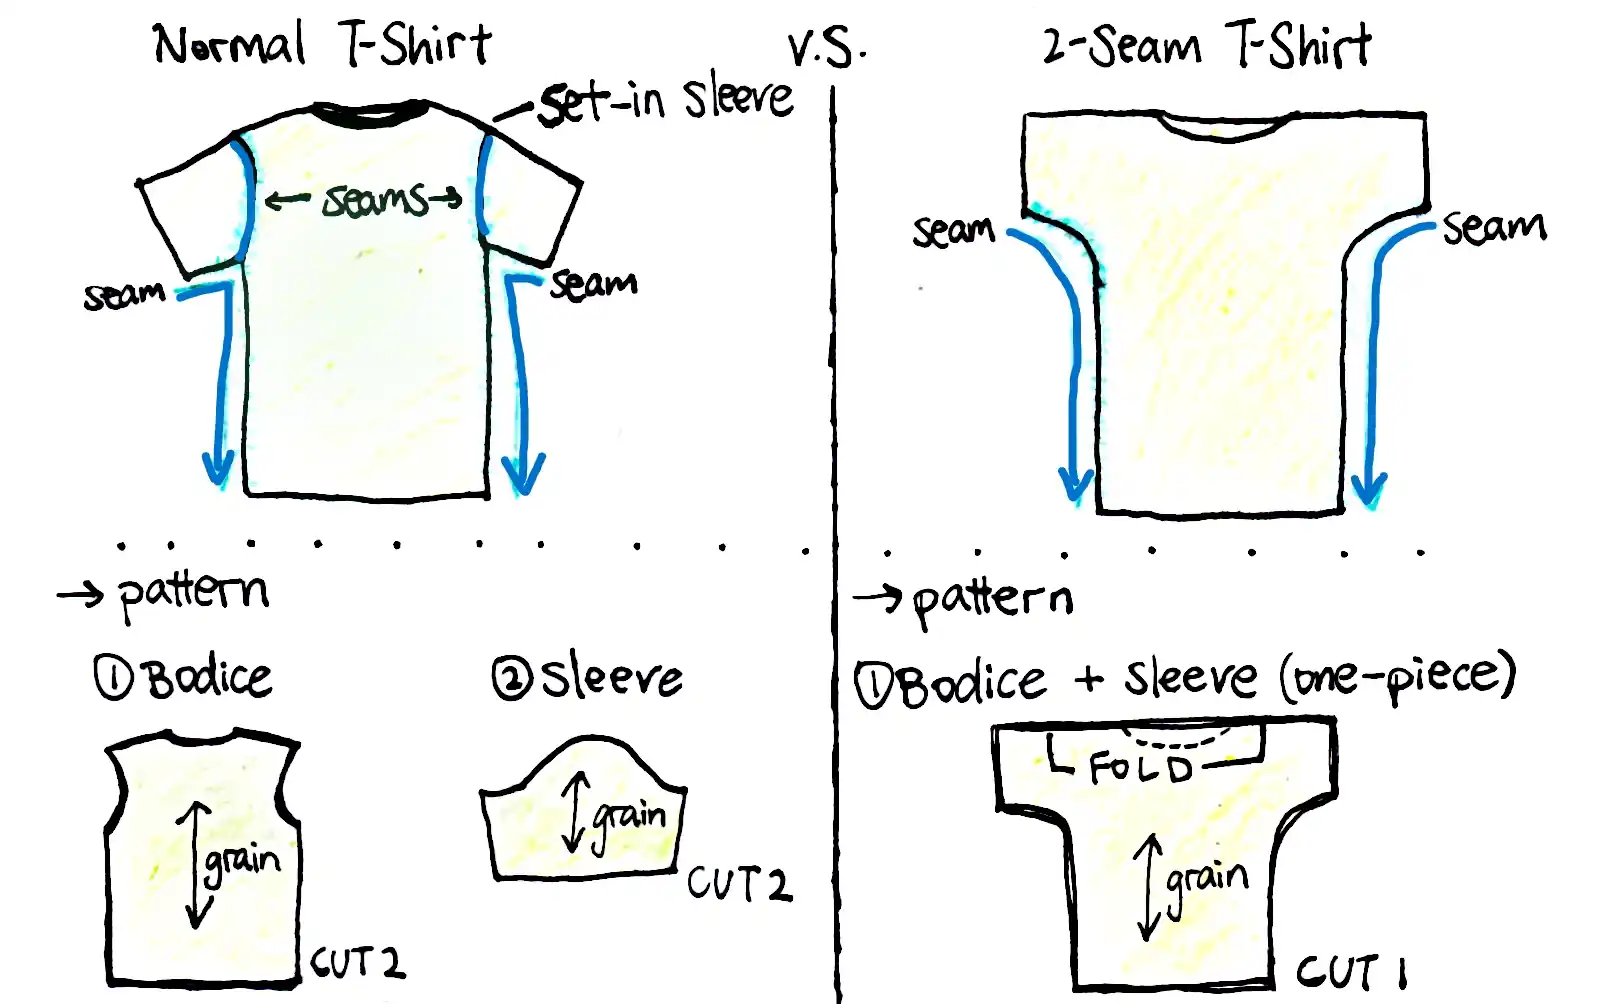
Normal T-shirt vs 2-Seam T-shirt
There are many noticeable and subtle differences between the two, let’s find out!
| Normal T-shirt | 2-seam T-shirt | |
|---|---|---|
| Pattern making | 3-dimentional | 2-dimentional |
| Sleeve type | set-in sleeve | bat sleeve / hanfu sleeve |
| No. of seems | 4 | 2 |
| Pattern pieces | 2+ (Bodice, sleeve) | 1 (Bodice+sleeve in one piece) |
| Fit | – can be more fitted – less mobility in the arms and less fabric under armpits |
– loose fit – more mobility in the arms but more fabric under the armpit |
There is no ‘the better T-shirt’, it all depends on what you want! We really like the flowy silhouette and simple construction of the 2-seam T-shirt -that’s why we are sharing this tutorial with you 🙂 we hope you will like it too!
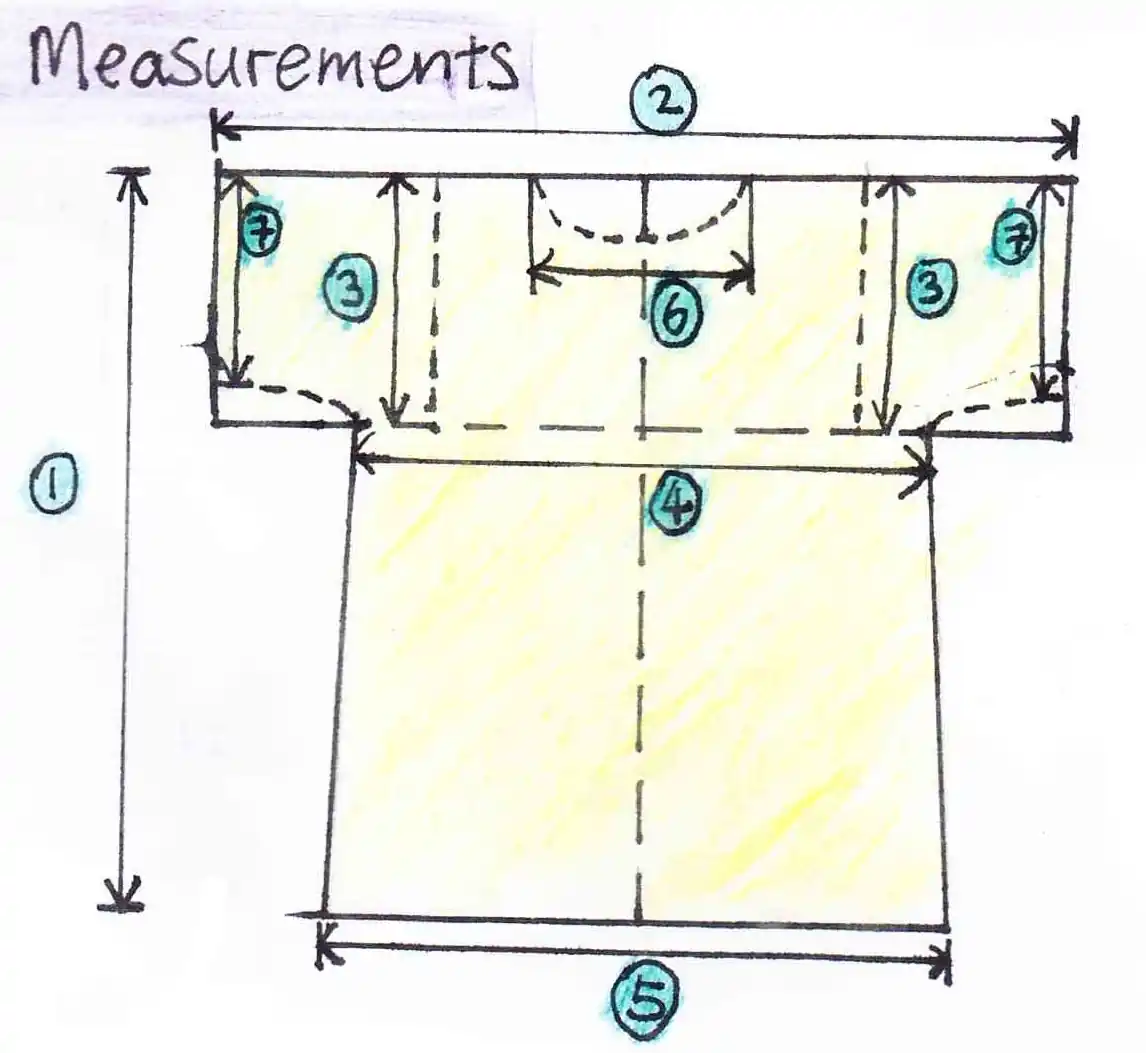
2-Seam T-shirt Measurements
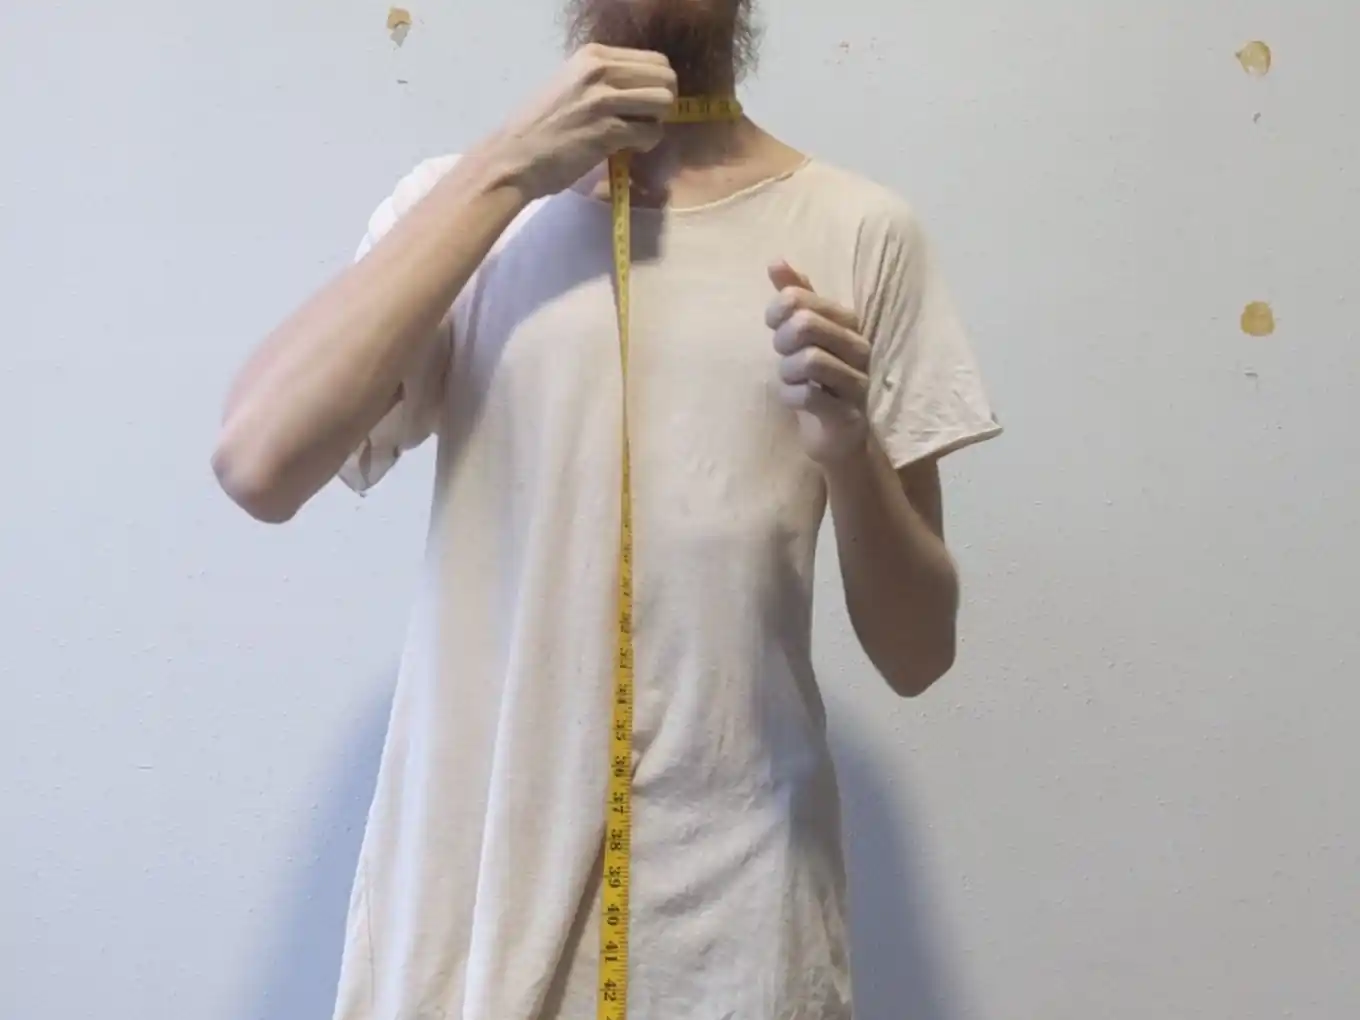
Take the following measurements and calculate them with the formulas for drafting the pattern:
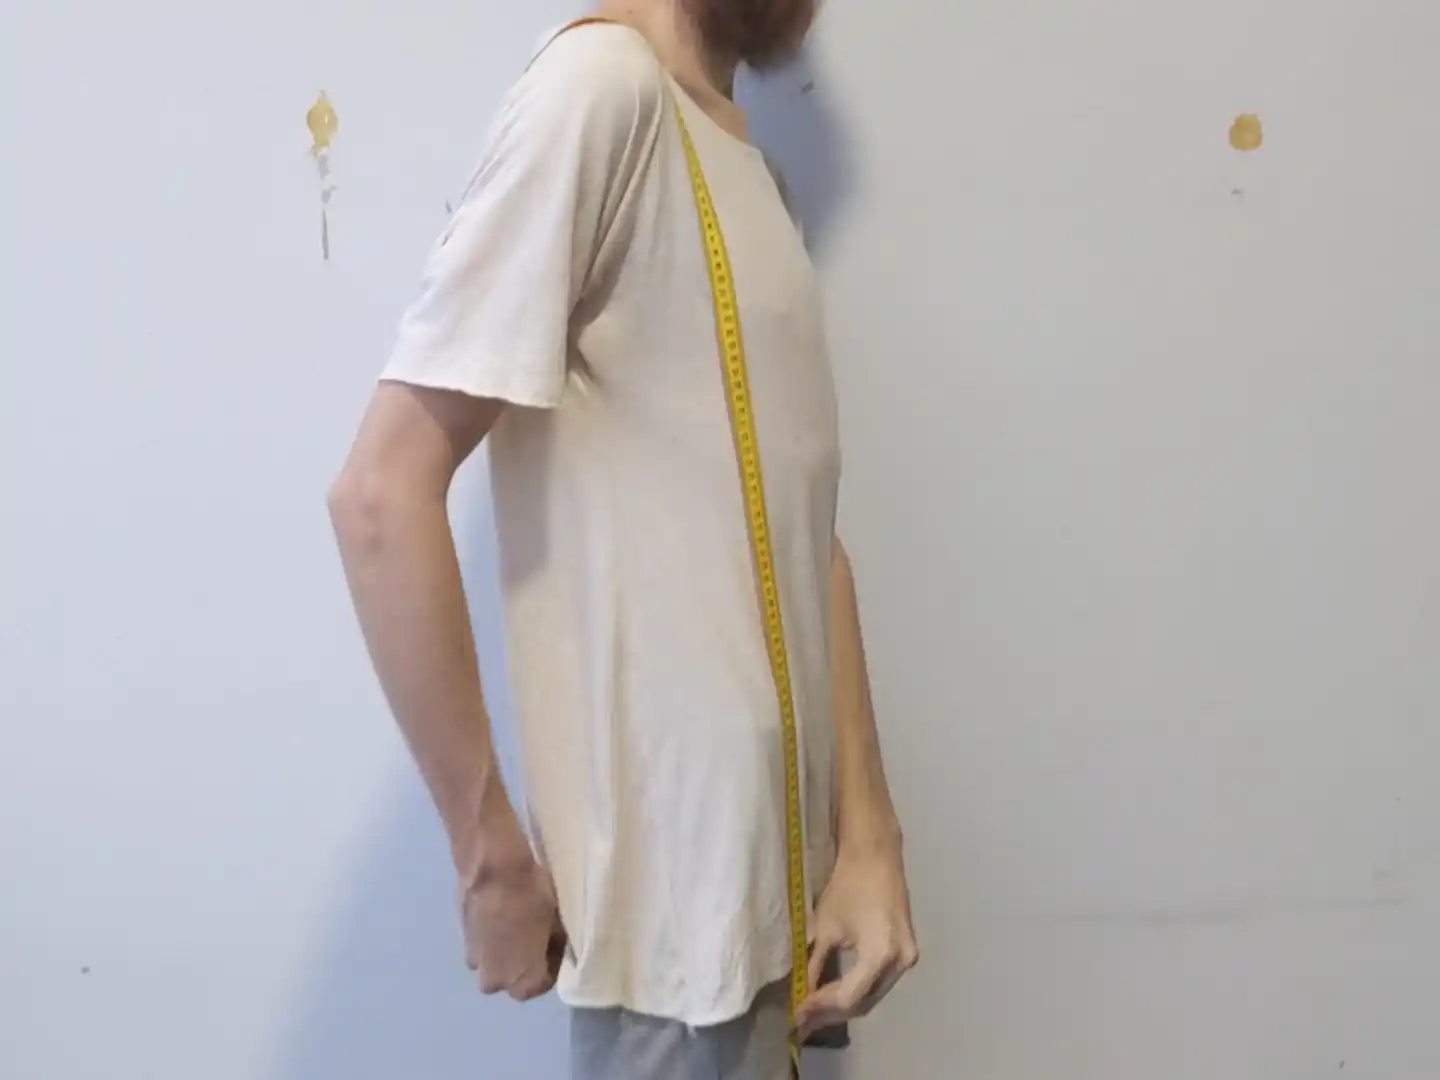
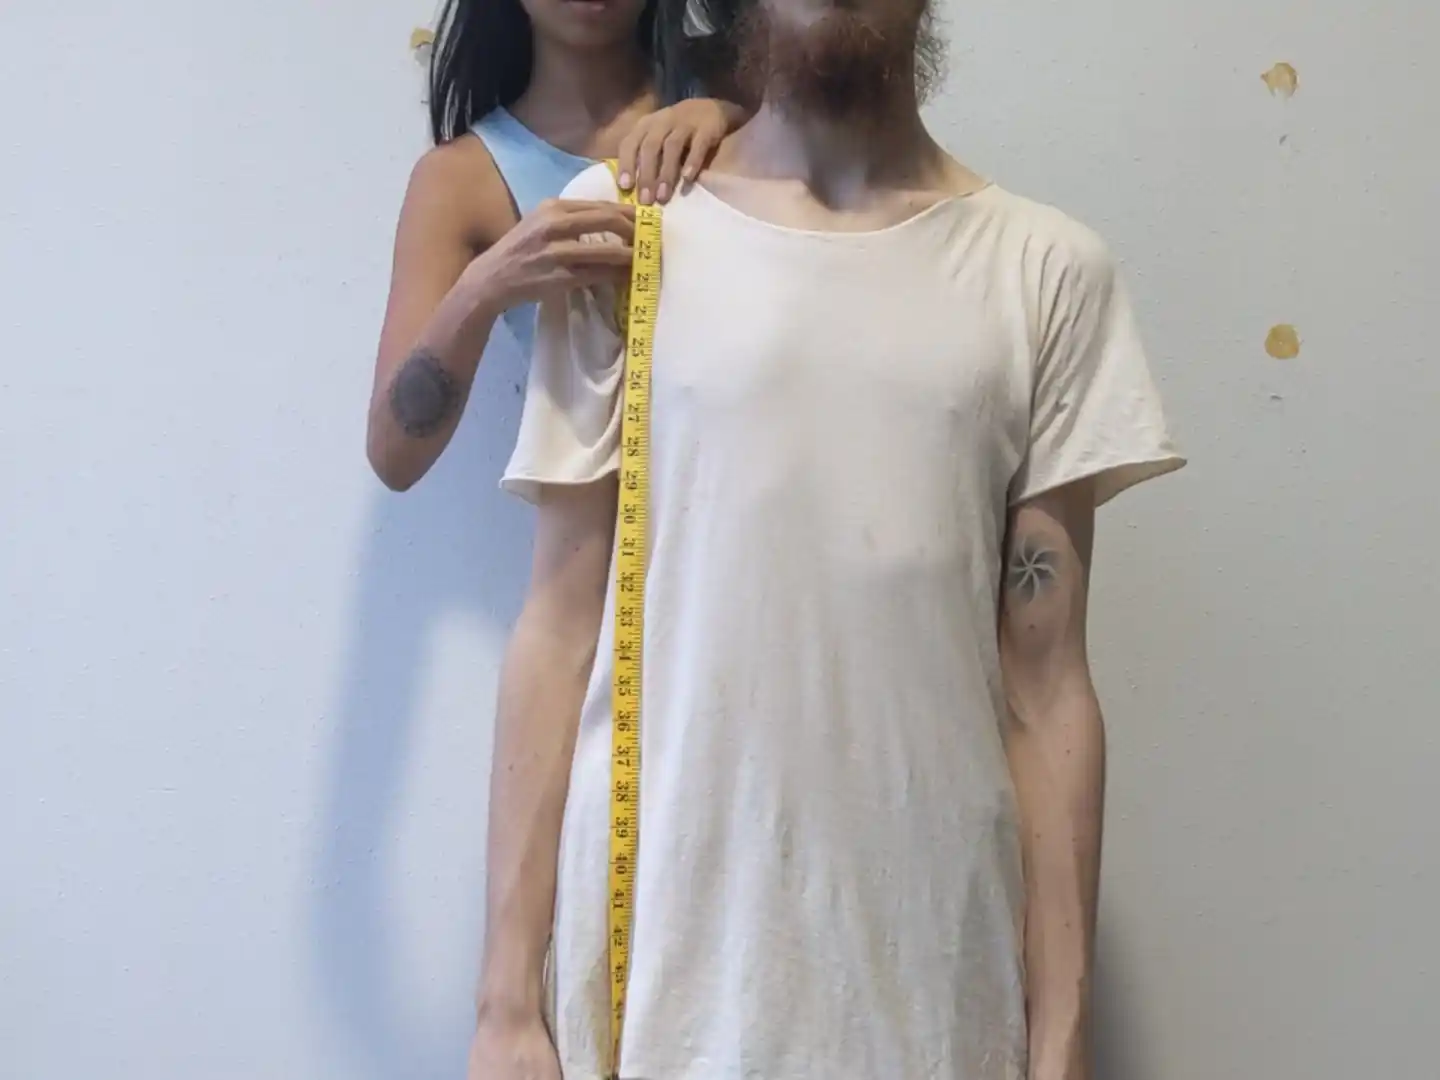
- Shirt length = hip to hip measurement (over the shoulder) ÷ 2
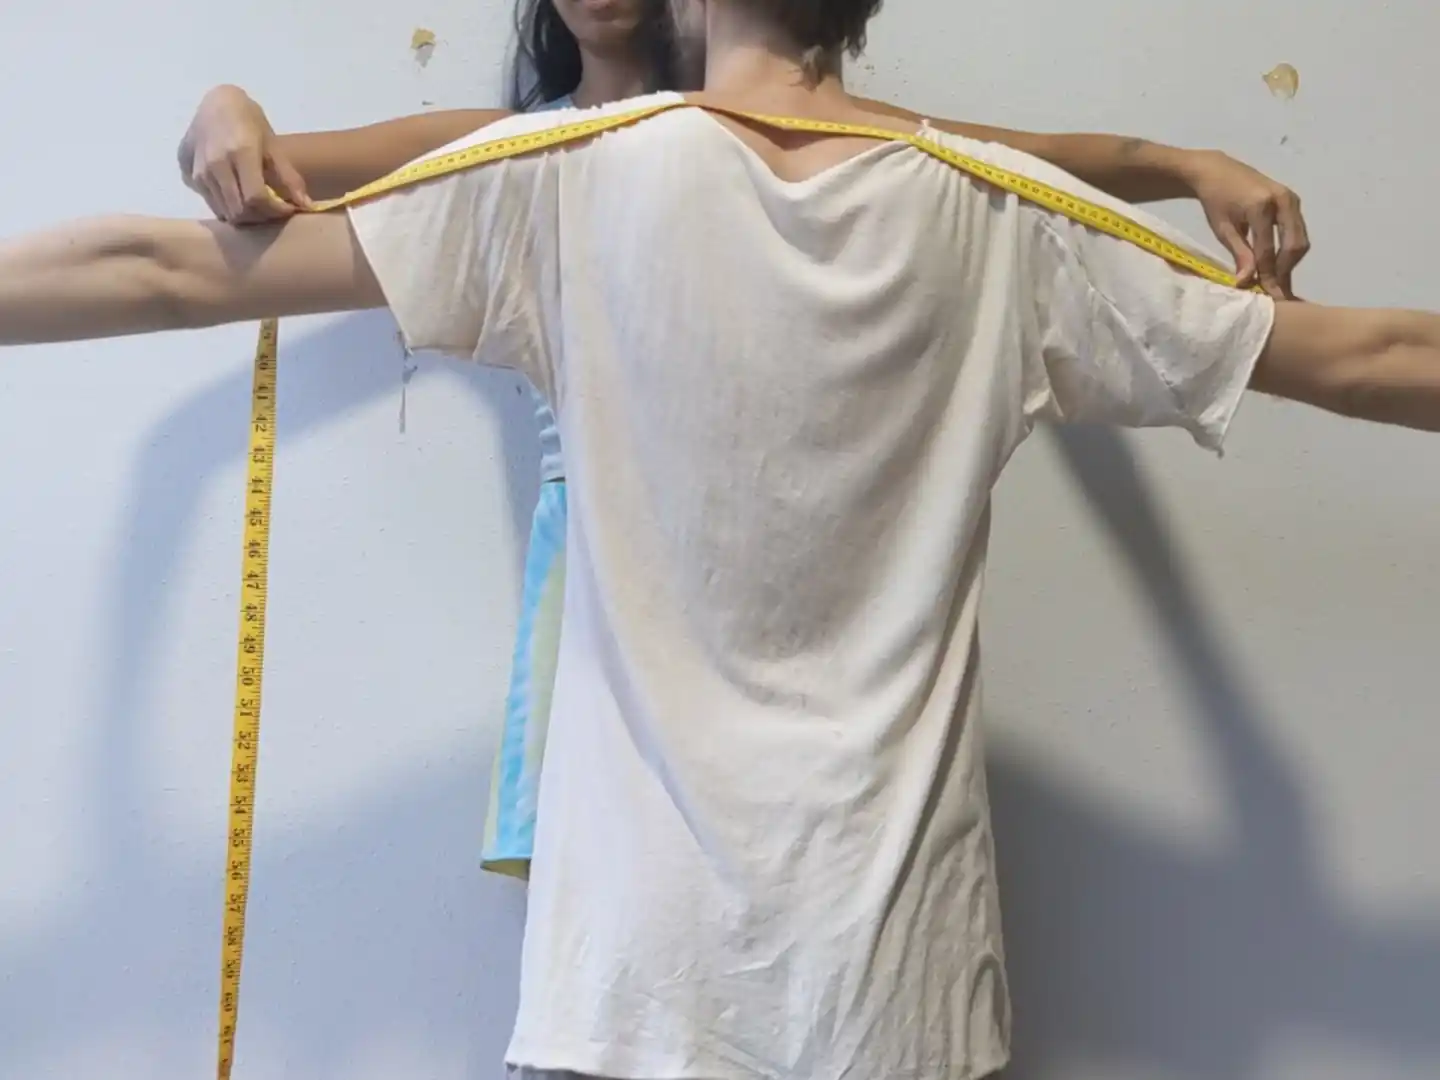
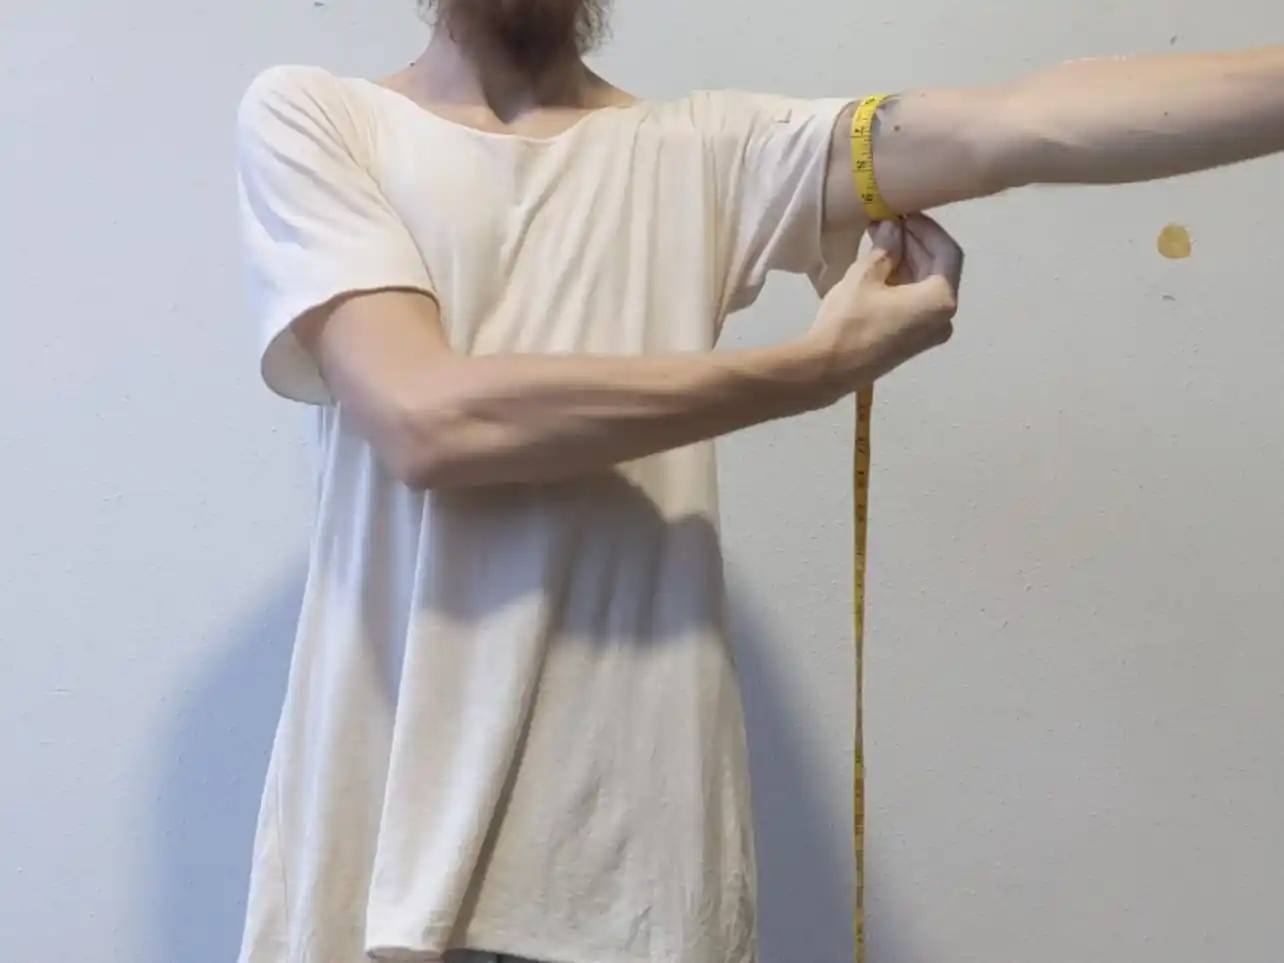
- Sleeve length = bicep to bicep measurement (from the back)
- Sleeve width @ armpit = (around the shoulder measurement @ armpit + 6cm or 2½in) ÷ 2

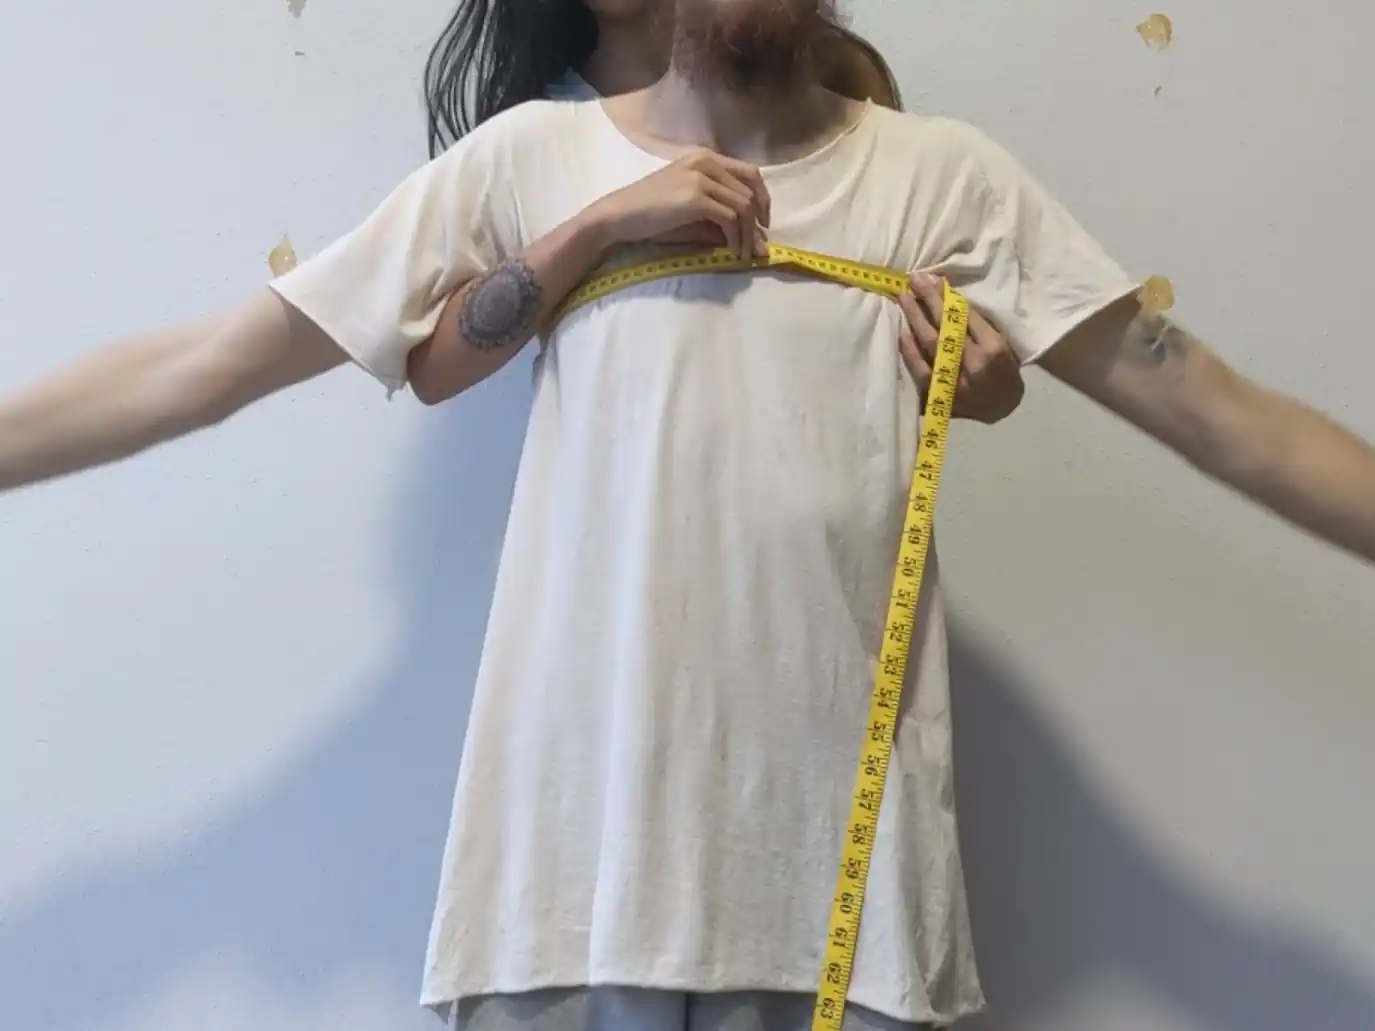
- Shirt width @ chest = (chest/bust measurement + 20cm or 8in) ÷ 2
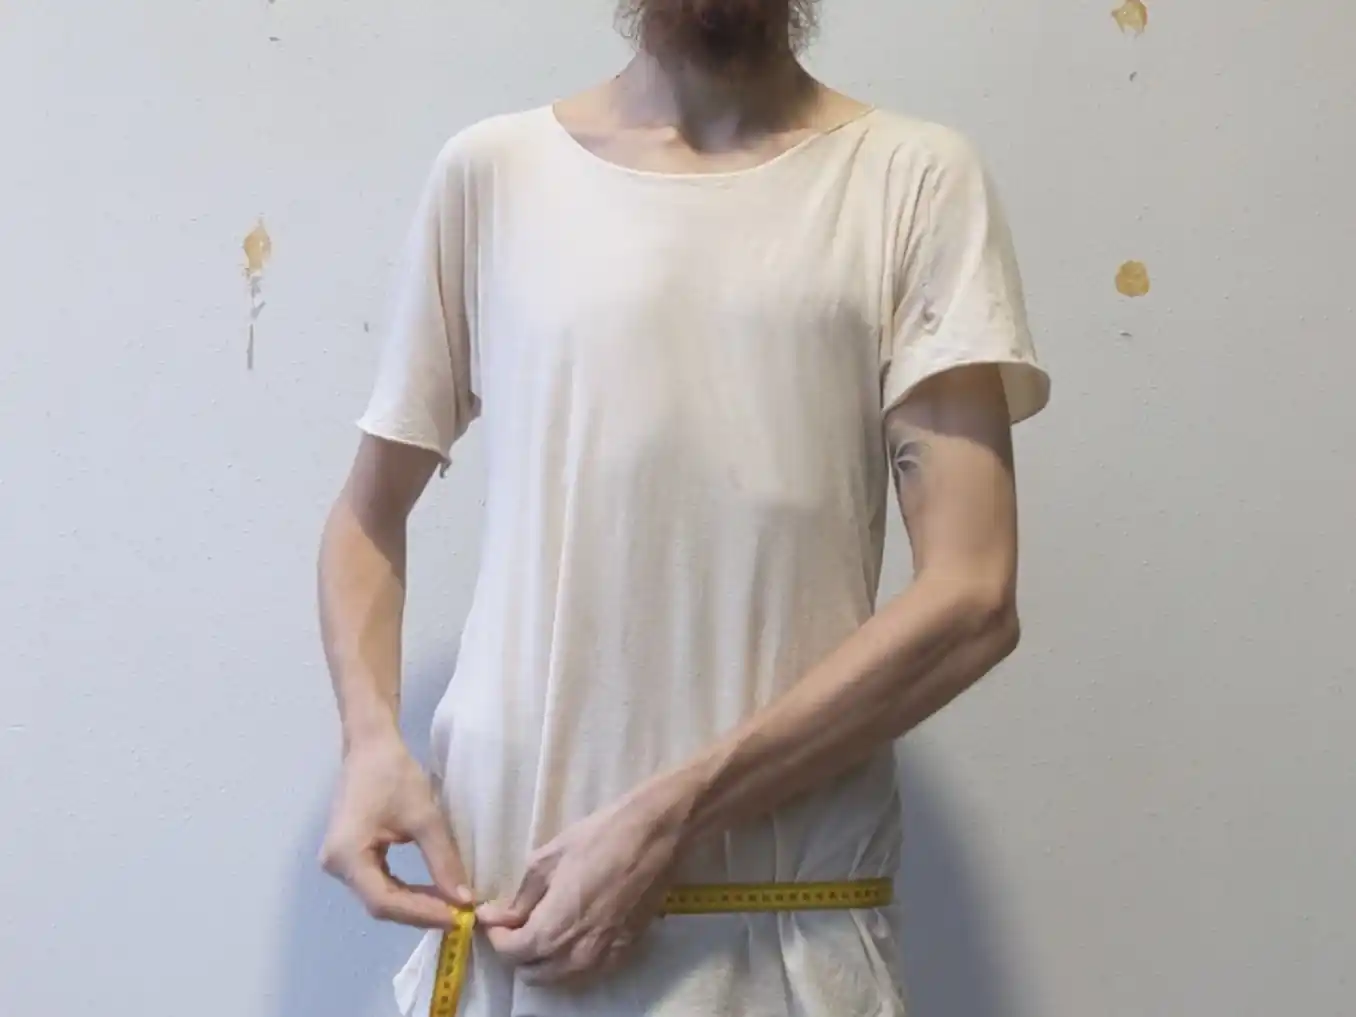
- Shirt width @ hip = (hip measurement + 20cm or 8in) ÷ 2
- Collar width = (neck circumference ÷ 2) + 2cm or 0.8in
- (Optional) Sleeve width @ bicep = (bicep circumference + 10cm or 4in) ÷ 2
Steps to Create a 2-Seam Tee!
Step 1
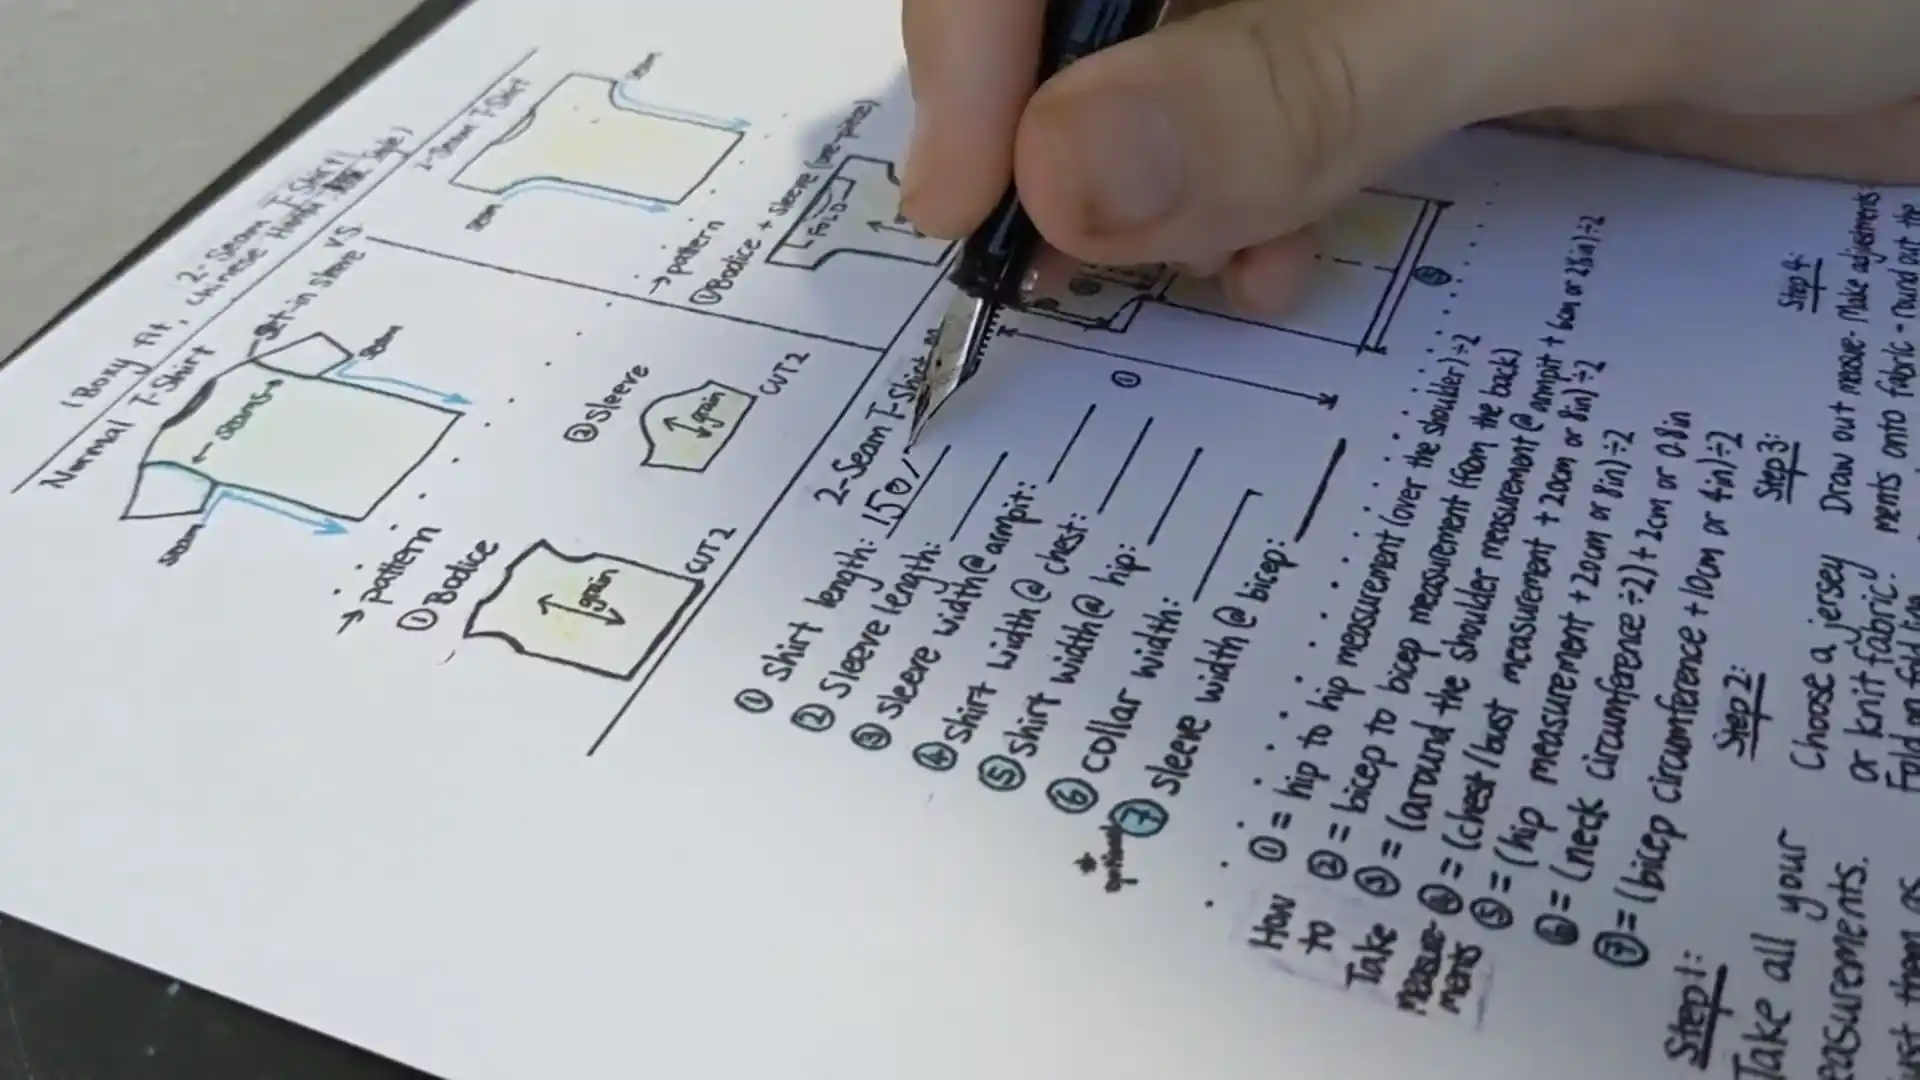
Take all your measurements and calculate them. Make adjustments as needed – increase sleeve length to make a long sleeve shirt; increase shirt length to make a T-shirt dress, use your imagination!
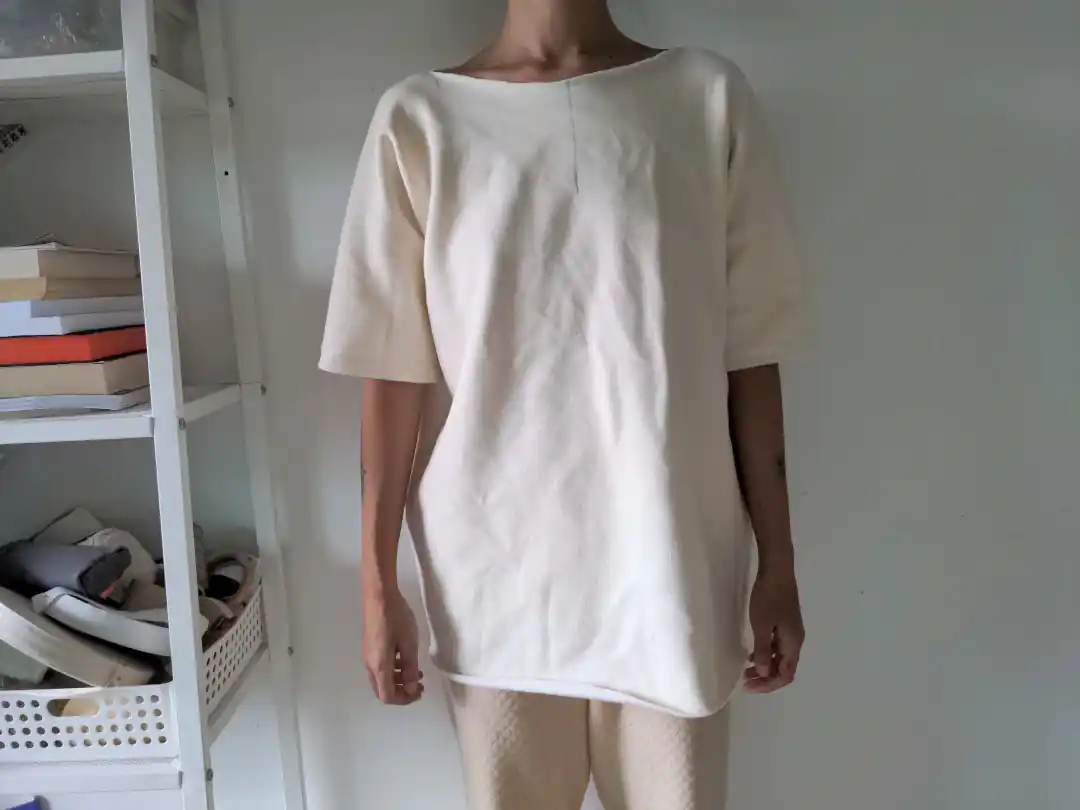
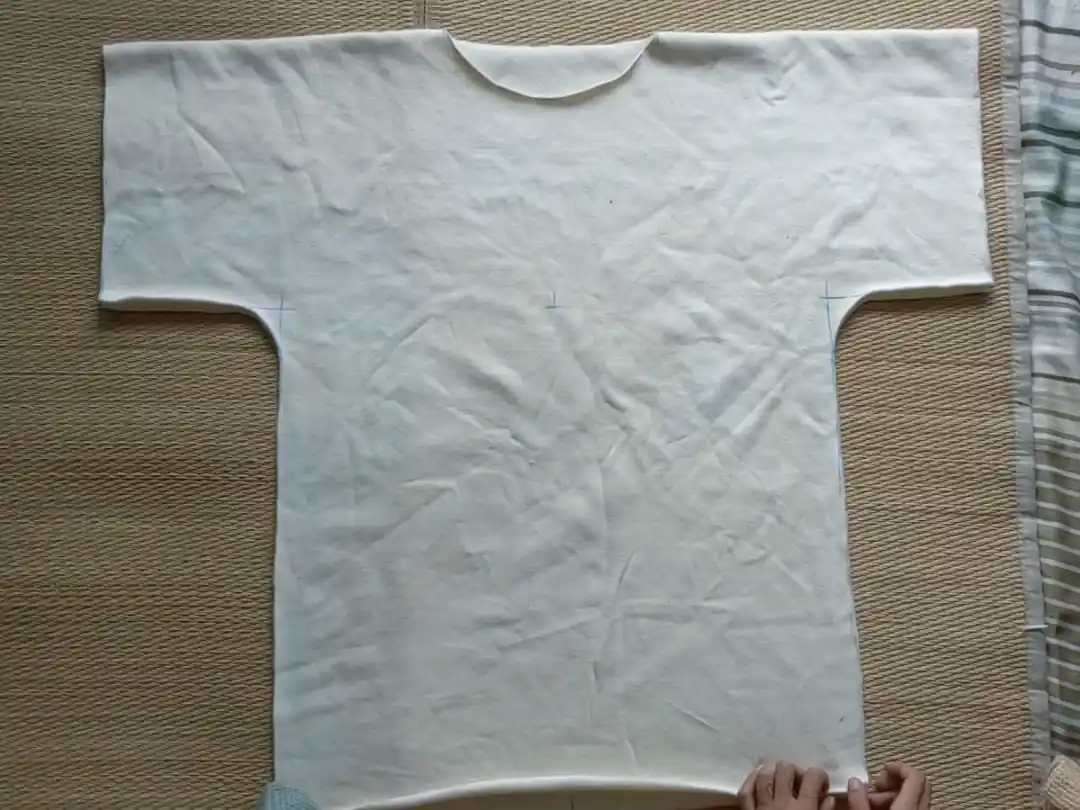
oversized half sleeve version (right)
You will not need to cut out a pattern piece because drawing directly onto the fabric is very straightforward, but you may if you wish!
Step 2
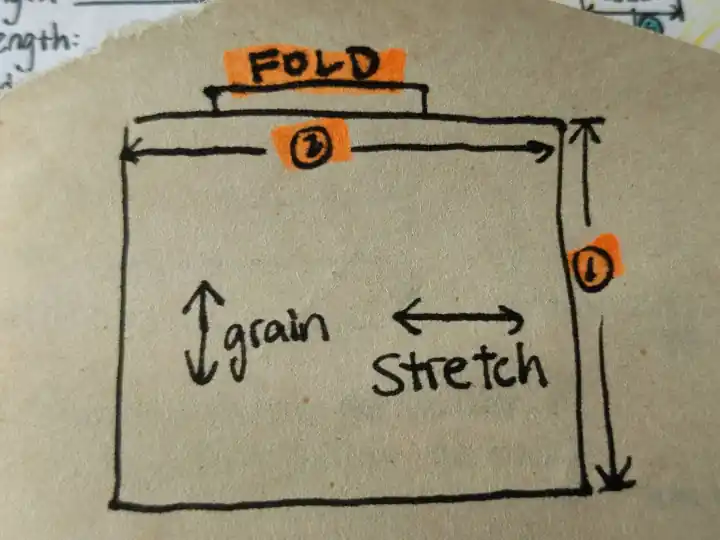
Choose a jersey or any preferred fabric. Size of fabric needs to be at least 2 times measurement 1 by measurement 2. Fold fabric in half on horizontal fold line.
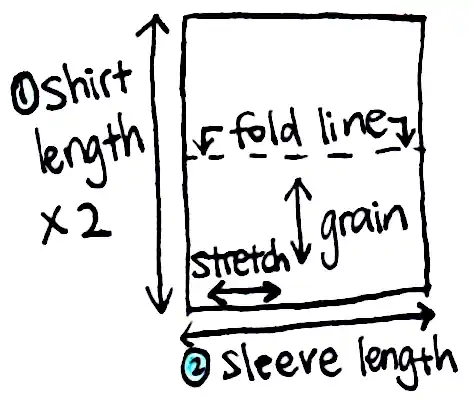
Step 3
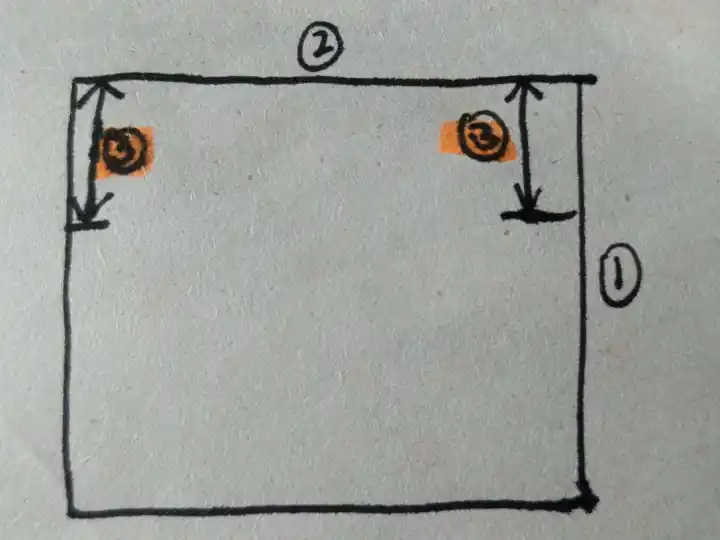
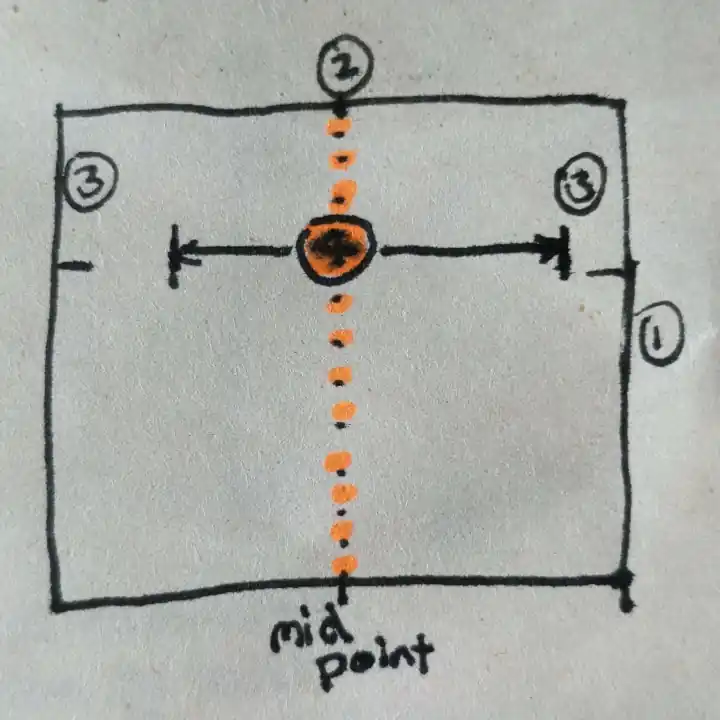
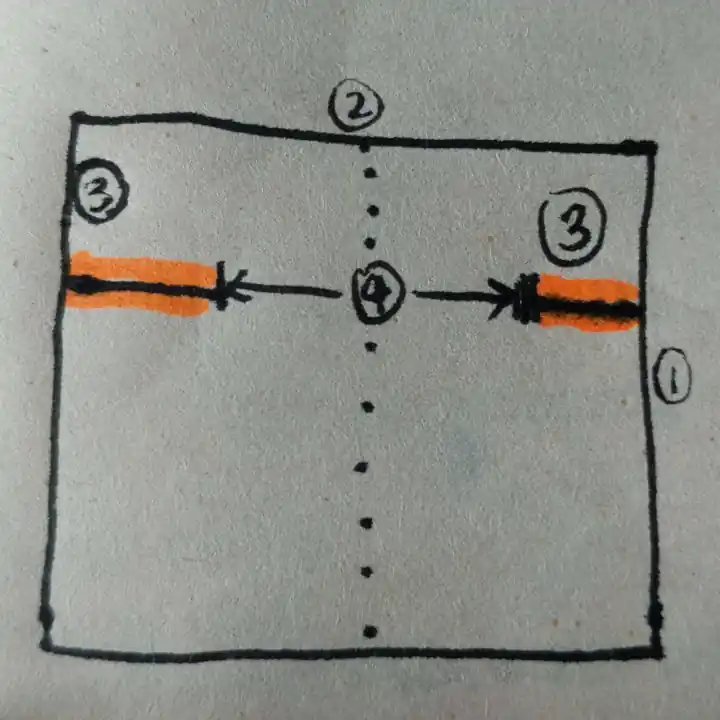
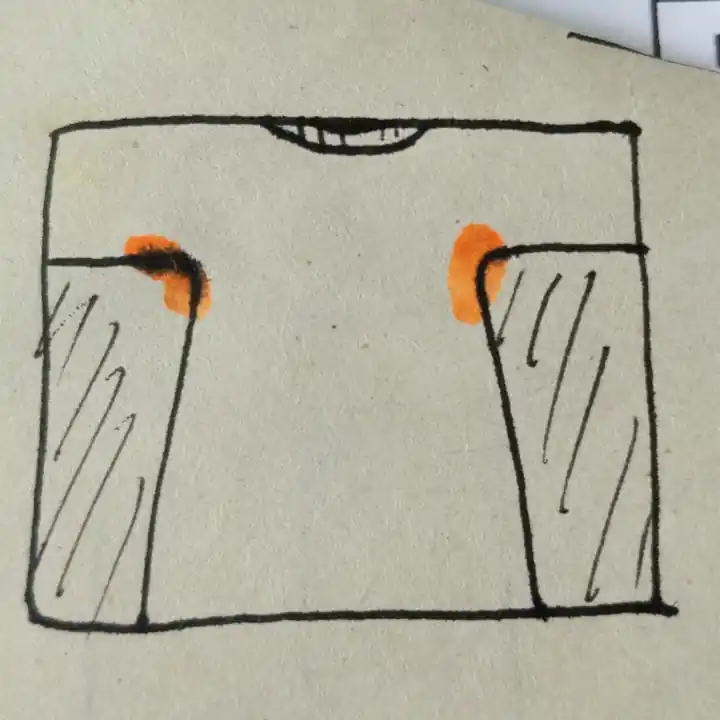
Draw out measurements onto fabric – in order of 1-6. It helps to find the mid point of the fabric along the sleeve length.
Connect the dots as needed. (Add seam allowance to bottom of shirt and sleeves if hemming)

Please reference video above if you are lost.
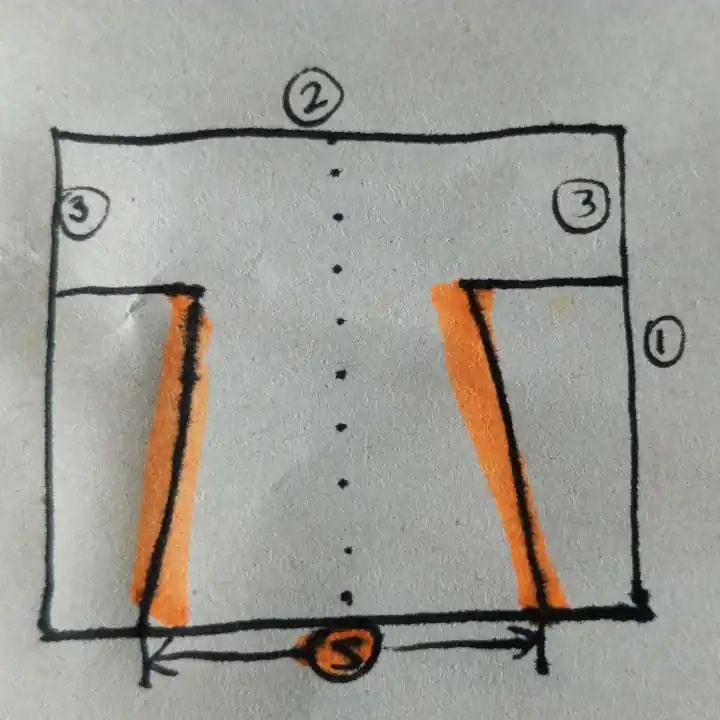
Step 4
Make any further adjustments to the drawn out pattern on the fabric as necessary:

Step 5
Cut and sew!
Step 6
Try it on and make adjustments as needed
Step 7
Hem or wear as is (neck binding is also optional). If your fabric frays then you may need to hem.
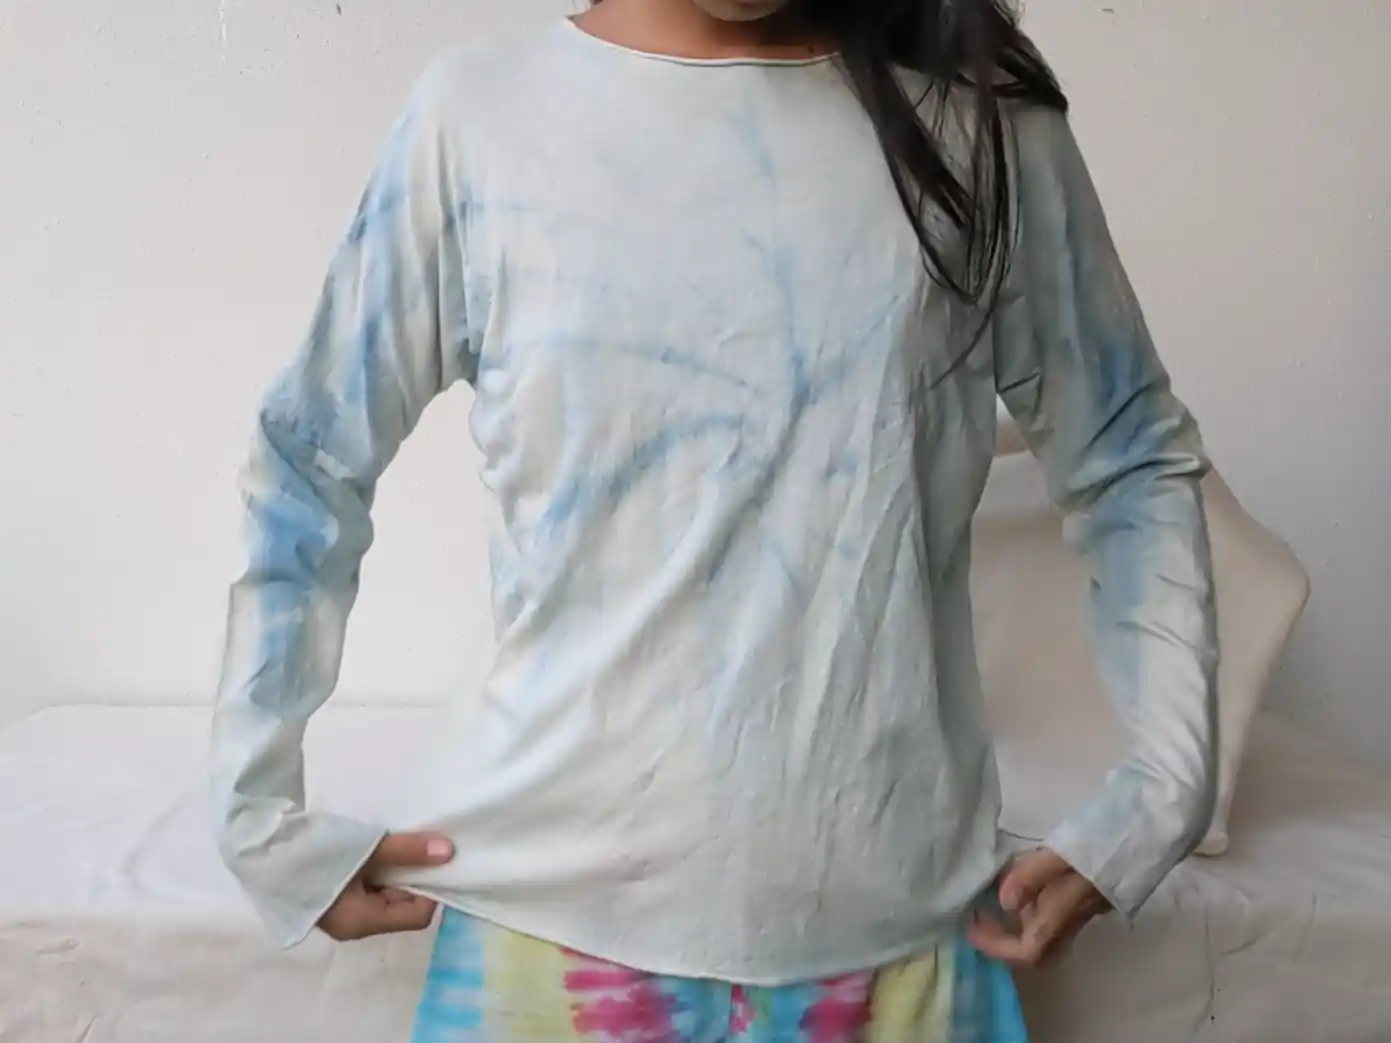
And you are done!
How did it turn out for you? Do send us an email and let us know 😃
We like to dye our handmade clothing pieces with natural indigo to give it a lovely blue colour. Each fabric will result in a different shade and tone of blue. Highly recommended!
Download PDF Guide Here