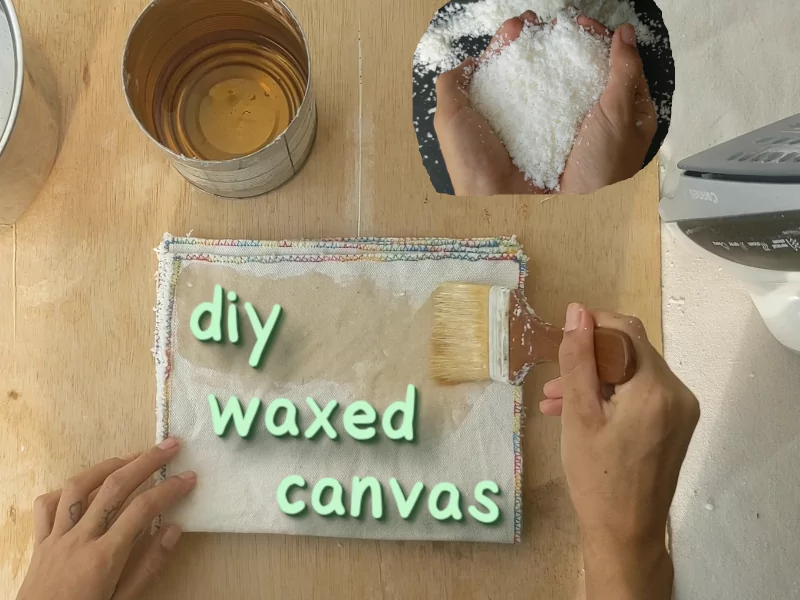
Wax Canvas at Home with soy wax (DIY Waxed Canvas)
Waxed canvas is a versatile fabric to have for sewing projects but it can be pricey if you buy it by the meter, so we decided to wax canvas fabric at home ourselves.
We are transitioning away from using synthetic petroleum-based materials (nylon, polyester, etc.) as clothing, which is also why we chose to wax the canvas with soy wax instead of paraffin wax. Plastic is a pretty wonderful yet daunting material. It permeates almost every corner of this Earth with its tentacles yet we know not much of its impact on our own bodies. We just know that we have micro-plastics inside of us (which is nasty!) and washing plastic clothing introduces micro plastic fibres into the waterways and the soil so we end up eating more of it. Therefore we are glad to have waxed canvas as an alternative for making rain jackets, hiking backpacks and more without compromising to much on the not-getting-too-wet-and-cold-in-the-rain part.
(link to tutorial)
Oh yeah, soy wax being soy-based carries its own problems but we live vegan so beeswax is not something we want to take from the bees. In the future we will start making oilcloth with boiled linseed oil or something else which our ancestors once made to shield from the elements that won’t ruin the Earth. We’ll get there!
video tutorial
You can also watch it on YouTube.
Pros and cons of waxed canvas
| Pros | Cons |
| Better water resistance | Less breathable |
| Sturdier – more resistance to snags and tears (e.g. from nails and plant thorns) | Heavier and bulkier |
| More structural | Feel on naked skin is waxy and oily on hot days and cold and hard on cold days |
| More insulated | As clothing, can be hot to wear in summer |
| Does not stain or dirty easily | You can’t wash it thoroughly (Clean by wiping with a damp towel) |
| Protect dye colours (e.g. indigo) |
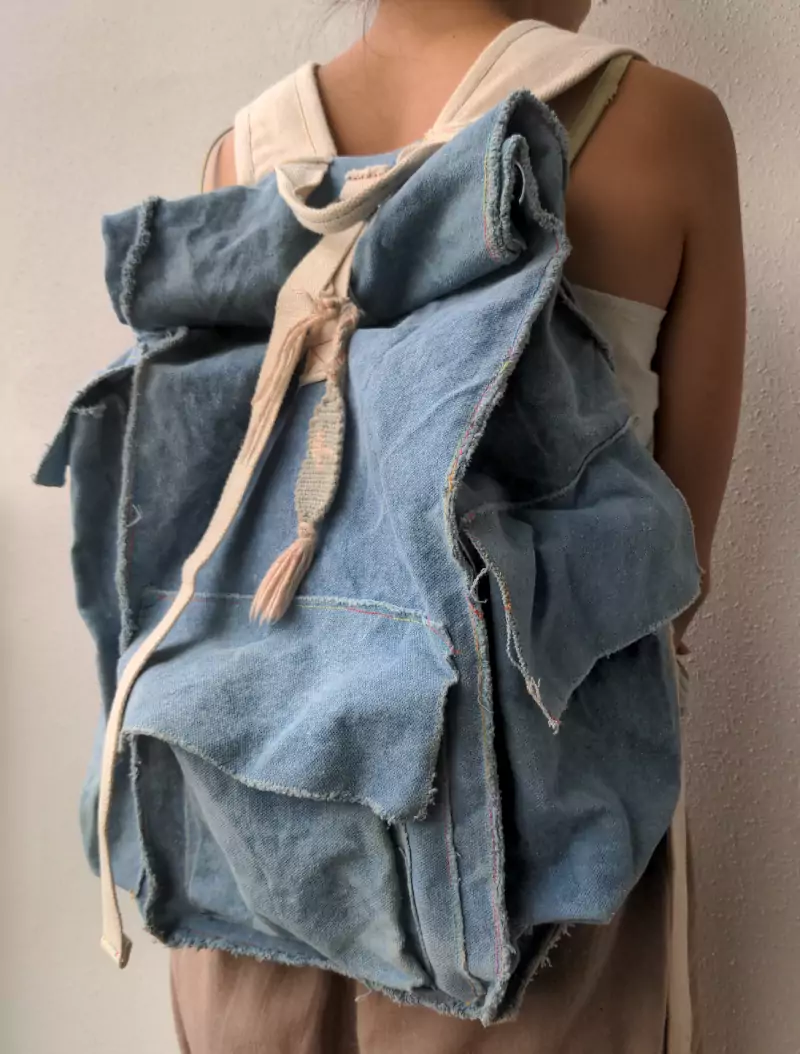
We recommend waxing canvas for:
- backpacks
- winter shoes
- laptop case
- jackets using 10oz or lighter canvas
- tarps and tents
- and many more!…
Tip: if the waxed canvas will come into direct contact with your skin, we highly recommend lining the item with a more comfortable fabric because the wax does not feel too great on the skin!
We do not recommend waxing canvas for:
- Summer shoes (believe us we tried – RIP sweaty feet😢)
- Big and heavyweight jackets (it becomes way too heavy!)
Tools and materials needed to wax canvas
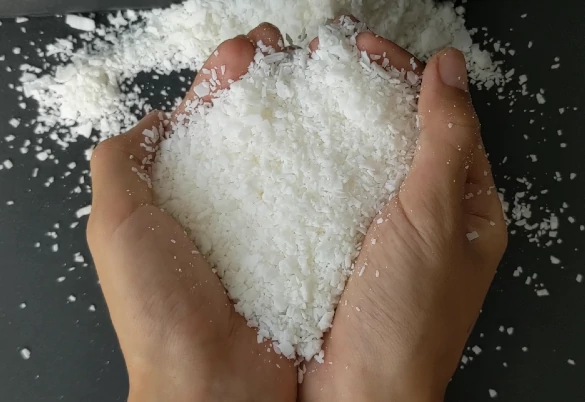
- Soy wax (choose one without any additives)
- Clothes iron (or use the heated bottom of a stainless steel pot)
- Brush or something to distribute wax onto fabric (make sure it doesn’t melt under heat of the soy wax 60⁰C/140⁰F+)
- Stainless steel container to melt wax in (or upcycle an aluminium can)
- Pot with water (for melting wax by double boiling)
Step by step waxed canvas
- Prepare your canvas fabric.
- Measure and cut out pieces needed for project. You will end up wasting wax if you wax by the yard
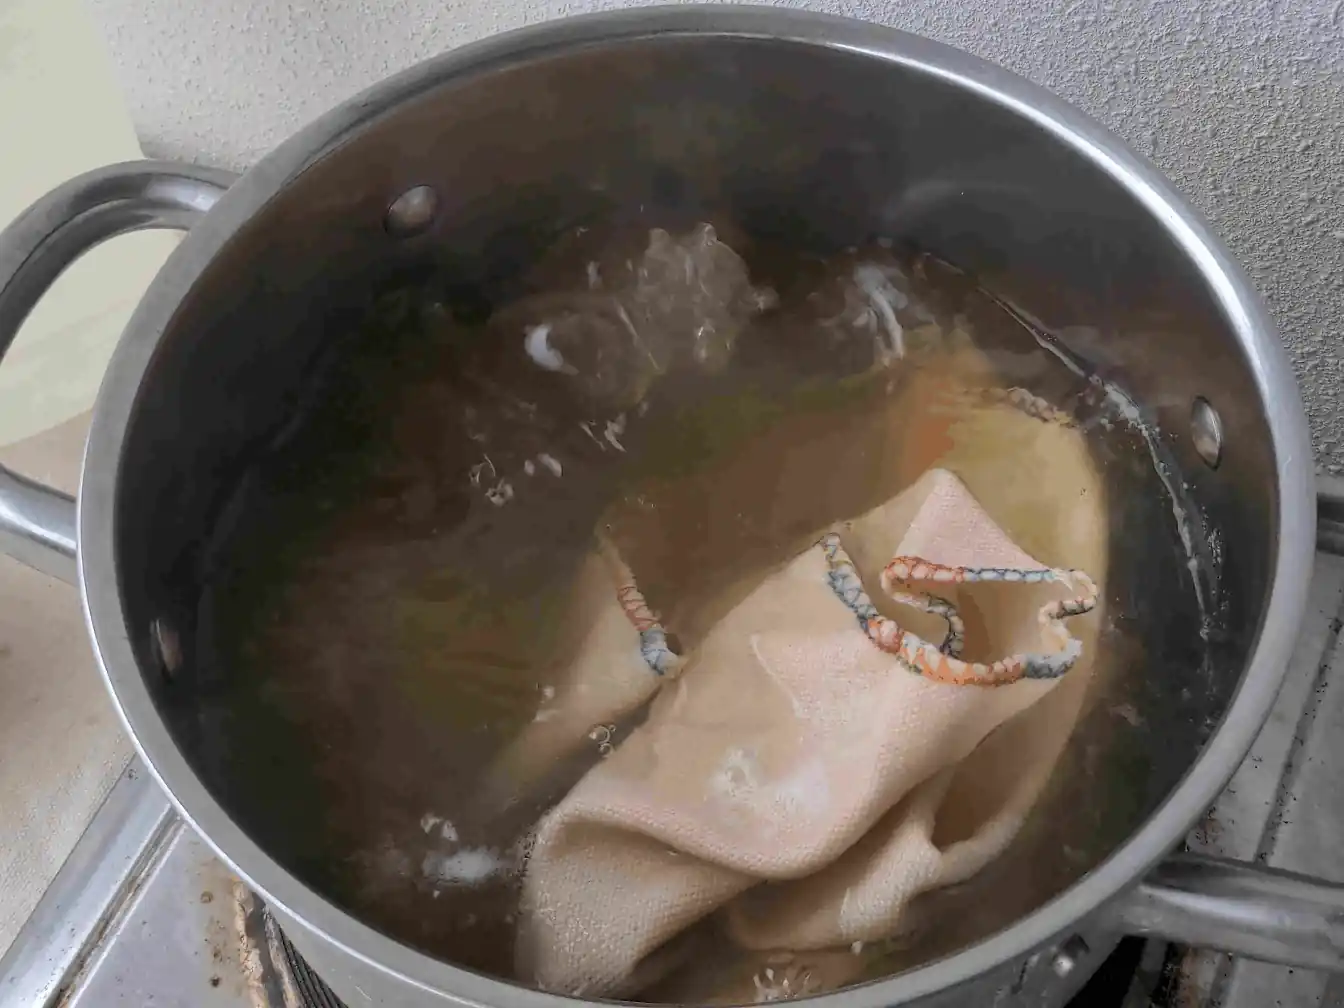
- Scour (highly recommended), be sure to overlock edges beforehand to prevent fraying. It removes dirt and grease accumulated during manufacture (if the canvas is not bleached). This will also make it more lightweight which compensates for some of the added weight by waxing.
- Gather all tools and materials. Find a flat, heat resistant surface you don’t mind getting wax on.
- Melt soy wax in stainless steel container by double boiling. Once melted, leave the wax container in the hot water so it doesn’t solidify.
- Layer 2 or more pieces of DRIED canvas on top of each other. This is useful as the wax tends to seep through the layers.
- Heat up the iron.
- Use brush to distribute some wax onto fabric and use hot iron to melt wax further. Start with only a little wax and adjust according to how much the canvas absorbs, we don’t want to overload the canvas!
- Repeat until one side is waxed entirely. You can tell where is waxed by colour of canvas becoming darker than normal. If you want extra water resistance, wax the other side of the canvas too. If you have a bigger project, we suggest waxing both sides for only the vital parts to reduce weight – such as bottom of a backpack or hood of a jacket.
- Place waxed canvas piece aside to ‘dry’. Continue to wax the rest of the pieces.
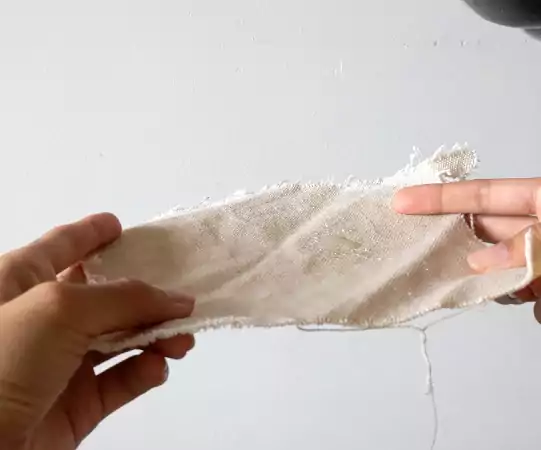
You have waxed canvas!
Caring for waxed canvas
- Wipe with a damp towel if dirty, do not submerge in water to clean
- Avoid direct hot sun for long periods of time if you can help it
- Definitely take your waxed canvas pieces on adventures in the wild!
This is how you wax canvas at home! We hope you can make wonderful projects with your new waxed canvas ☀️