Upcycled Muscle Tank {from fabric scraps} | Sewing Sesh 🧵
We have accumulated many scrap fabrics from various sewing projects over the years. Here, we will show you how we upcycle some of that scrap and turn them into a muscle tank! Hopefully you will be inspired to make something new and useful out of your fabric scraps too 😊
Watch the video!
You can also watch it on YouTube.
Step 1 - Picking out fabric
Each fabric has its own characteristics so we made sure to pick out scraps that are similar enough to not clash with one another. By clashing we mean if you sew some linen with cotton jersey without minding the direction of stretch or the grain line then when the clothing piece is being worn it would result in some unnatural draping and even an uncomfortable fit. It is also important to choose fabric based on the type of clothing you want to create. Stretchy fabric for better movement; linen for a relaxed fit
For this project, we picked out all the cotton jersey scraps we have that are of a similar colour (all dyed with indigo, by us!). We will look at the pattern next and double check we have enough fabric for the project.
Step 2 - Adjust pattern
To make this muscle tank, we will be using our pattern for the 2-seam t-shirt. We will use some measurements from the pattern and add one new one.
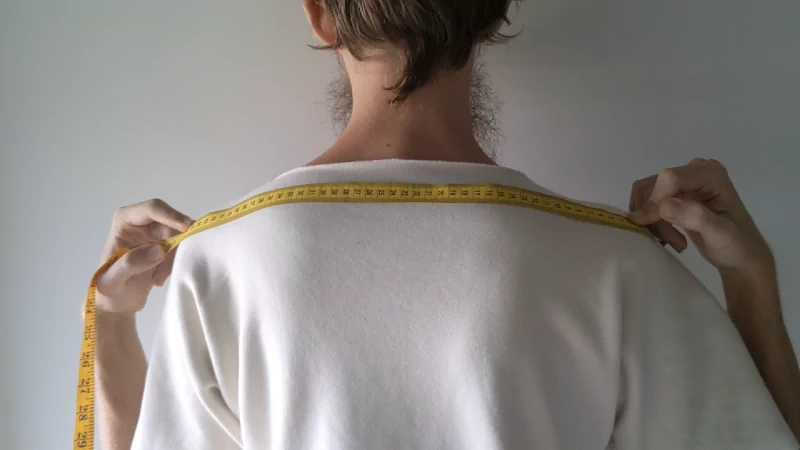
Measurements needed:
- shirt length
(Measurement ➀ from pattern) - across the shoulder
(new, used instead of Measurement ➁)
- sleeve width
(Measurement ➂ from pattern) - shirt width
(Measurements ➃ and ➄ from pattern) - collar width
(Measurement ➅ from pattern)
Instead of drawing and cutting out the pattern pieces, we will think of the muscle tank as two rectangles. And the cut out arm and neck holes as the last step.
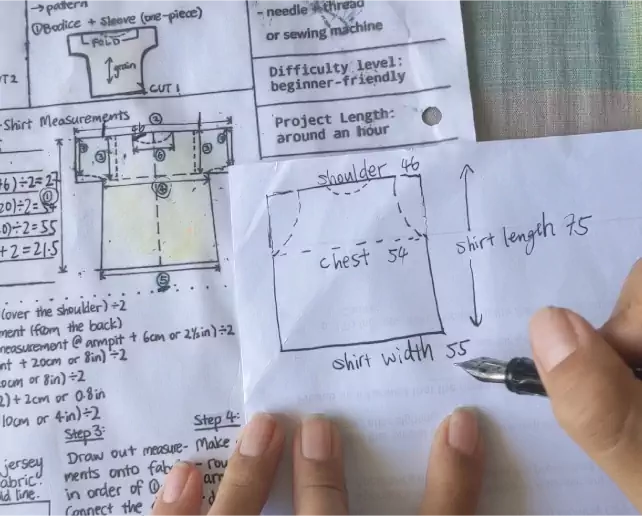
This is the step to check if the fabric scrap pieces will patch up to be large enough for the pattern. According to the pattern we have for this pattern, we need two rectangles that are:
55cm by 75cm or 22in by 30in (width by height)
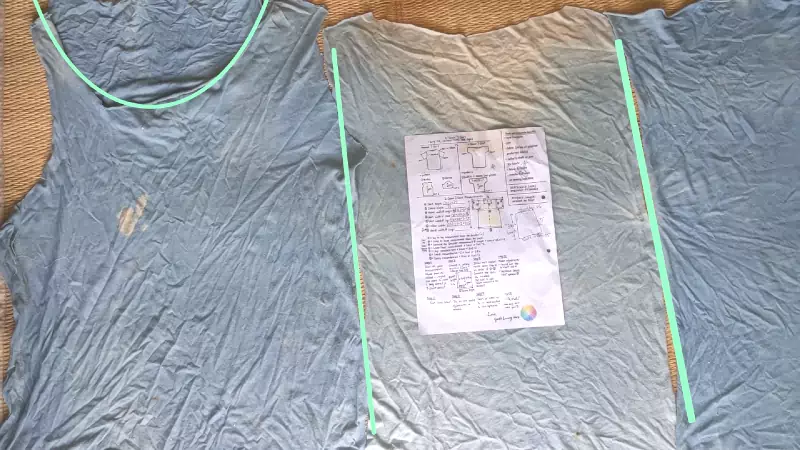
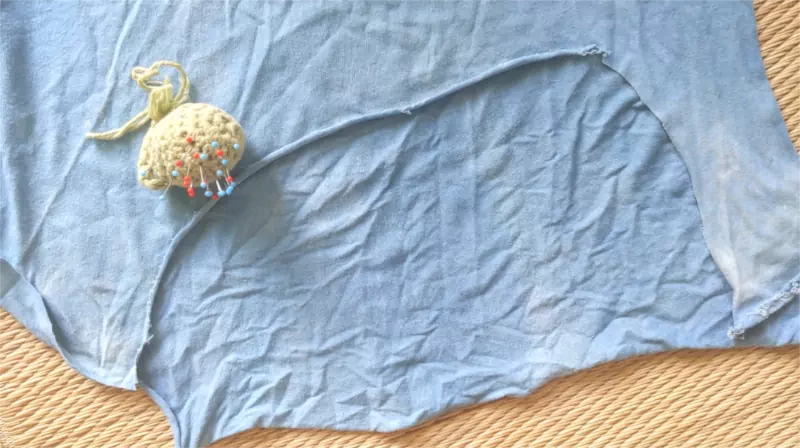
Step 3 - Puzzling and patching the fabric pieces
Puzzling
Figuring out how to puzzling up the fabric pieces together is a fun process. Just make sure that you are aware of the direction of stretch / grain line and puzzle up the fabric scrap pieces accordingly.
This is how we will puzzle
up our fabric scrap pieces:
To reduce seamage on the inside of the shirt, we chose a flat overlay seam (we don't know if the seam has an actual name). It is fun seam as it is reversible.
How to achieve the flat overlay seam:
- lay edge of one fabric piece ove the other
- pin and sew edge down with an appropriate stitch (in our case, zigzag stitch for cotton jersey)

- turn fabric upside down, cut away any excess whilst leaving an edge of around 1cm/0.4in

- sew that 1cm/0.4in raw edge down and you have completed the seam!

Of course you can use a matching colour seam, but we like to have funky seams in our home 😋
Step 4 - Make the muscle tank!
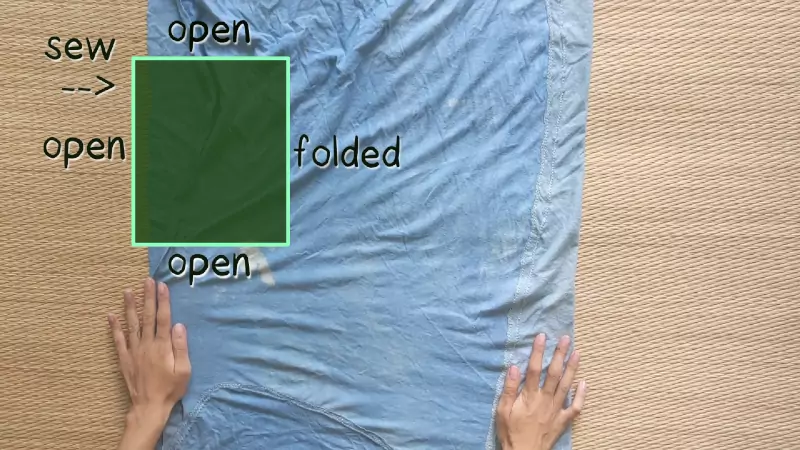
Now we have a rectangle, we like to be efficient (and lazy) when sewing so to reduce the amount of stitching needed, so we will keep the two muscle tank rectangles connected.
- Measure the long edge of the fabric to 2 times the shirt width and cut off any excess.
- Measure the short edge to equal to shirt length and cut off any excess.
- Fold fabric in half so short edges (shirth length) are touching, shirt width is halved.
- Sew shirth length (vertical) edge closed.
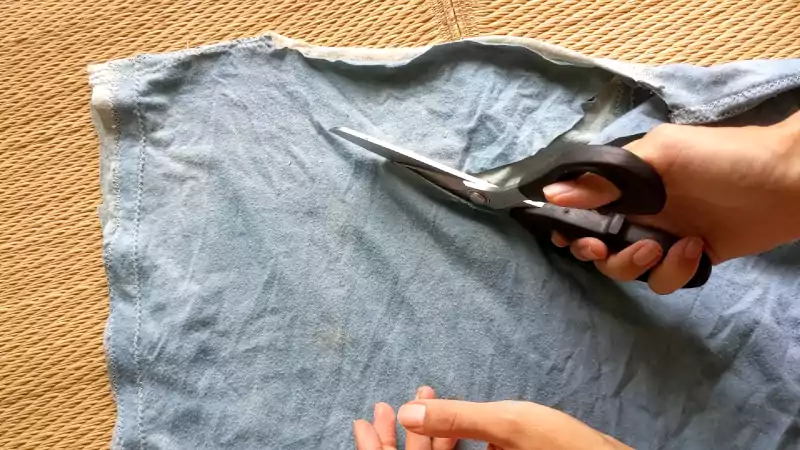
- Cut out arm holes using sleeve width measurement.
- Cut out neck hole using collar width measurement.
- Try it on and make any adjustments.

Muscle tank is finished!
